A friend of mine asked me to build this a while ago. My god, it's been nearly a year he first spoke of this! The system he had in mind needed to do only a few things: "When a button is pressed a light goes on (matching the button) and a sound is played. Oh, and could you display the person who triggered it on the screen too?"
The prototype
The first step: make a prototype. It looked something like this:
An Arduino to implement the logic of the lights and the communication with an application on a PC via USB and a few shift registers. The shift registers were required because I needed to control 16 LEDs (not enough pins on the Arduino to do that).
I also did something most people find unusual: I prototyped the software as well (most software prototypes end up being the final product). The application communicating with the arduino was written in Processing. It had only the basic functionality, but it clearly showed the idea was feasible and was a good way to show to my friend how I interpreted his "specs". The eventual application would be written in Qt / C++, more on that below.

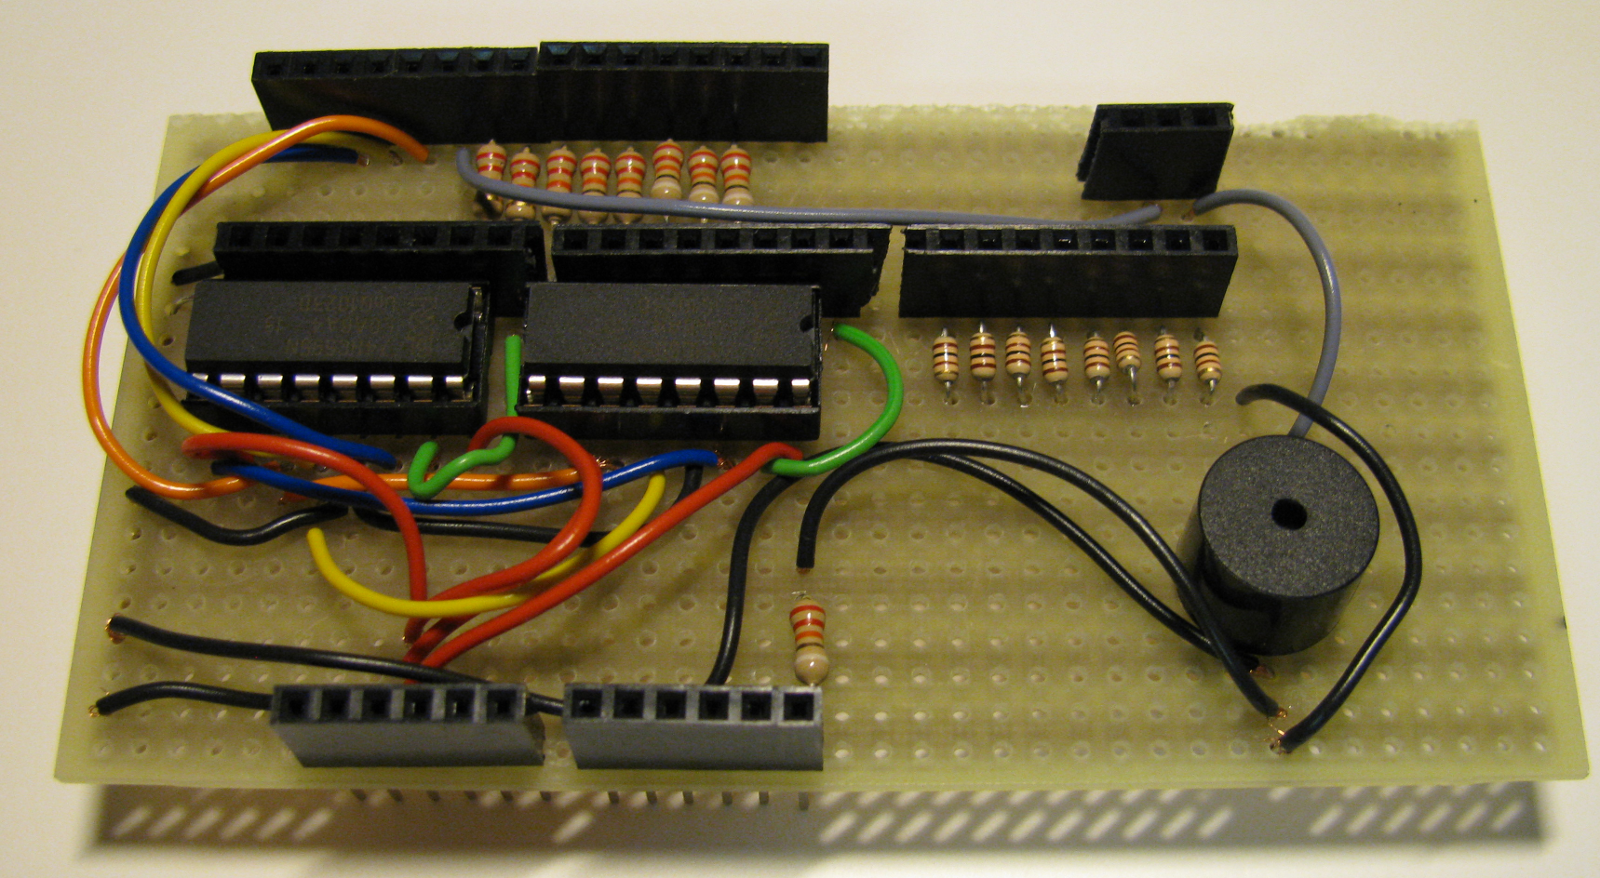
The shield
I decided it was time that I made a decent Arduino-type shield, instead of my usual big mess of wires. I'm pretty pleased with the result. It just fits right on top of an Arduino, brilliant! I can also recommend using a 2-hole-per-strip stripboard, it works really well for connecting ICs with one another.

The drilling
As soon as the electronic core was finished, it was time for the drilling. Oh boy, did I drill: 17 holes in the top cover, 6 in the bottom cover, 2 of those had to be rectangular shaped, which is a special kind of hard (drills don't come in rectangular shapes).


The wiring
To prevent messy internal wiring, I used flat cable (re-used some old IDE cable). Again, very pleased with the result.

The buttons
Next up: the buttons. My friend and I decided to come up with something other than the usual square-box-with-a-button-on-top design. So we decided to use wooden handles. These wooden handles would be fitted with illuminated buttons. (Did this just start to sound really expensive?) Not an easy thing to do, fit buttons into wooden handles. Here are some pictures of the process.


To control both a button and an LED via only 2 wires I needed a few electrical components on the buttons themselves. Luckily, these components were small enough. So they could be fitted right between the leads of the button. (The diameter of a button is 8mm.)


The BnB-0x7DA
So there you go, those were the hardware steps required to finish the project. The result can be admired in the image below: 8 player buttons, one reset button on top of the case, one button is connected to the side of the case to also function as a reset button, one spare button on the left and one toggle switch on the right to enable or disable the buzzer. Between a handle and a connector there is about 10m of cable. Totalling more than 100m of cable in this picture! Notice the nice blue and green lights :)

The software
For the software side of things, I made an application with Qt. It has a very good IDE and a clean API. It's especially easy to create decent GUIs in Qt. GUI code tends to become really messy, really fast, but Qt manages to encapsulate the messy part of GUI code in a generated source file.
The application did not need to do much. Every button is attached to a name and a sound. If enabled, this sound is played when the player presses his button first and his name shows up on the screen. The application also supports teams of players, saving and loading, auto detection of the serial port and a basic score system.
I tried some experimental GUI design. Not sure if it is æsthetic, but it definitely is user friendly.

The conclusion
Although, technically, this wasn't one of the hardest projects I have done, it surely wasn't easy. The main goal was to finish a professionally looking product which is easy to use and somewhat durable (this remains to be seen). Thomas Edison said "Success is 10 percent inspiration and 90 percent perspiration". This is definitely the case with this project. Like I said, technically, not the most difficult, but I put more time in this than any other project so far. And it was totally worth it.

You managed to capture you enthusiasm brilliantly in this short story. The pictures are very good, I especially liked buttons1 because of the composition and high detail of the very small subjects. Please send me a copy to use as a desktop image ^_^
ReplyDeleteHow did you made the rectangular shaped holes? In wood work, you can drill the corners and then flatten the sides using the chisel, but I'm not sure how you do something similar with metal.
And the GUI is very ugly ;) please change the font, make the morbid black background more blueish and use softer colors for the yellow and red buttons. I mean, it looks like made in the 90ties. By a 10 year old. In paint.(no really)
Embrace your feminine side and do some decorating!
But otherwise, you rule!
Rectangular holes: Yeah, it's done like you'd do it in woodwork.
ReplyDeleteThe GUI: The buttons turn blue when you "mouseover". Which makes it more lively.. It's supposed to be some kind of Mondriaan-style. It's probably an insult though.
Hello, very well done on the project. I am doing a similiar thing but with 8 buzzers.
ReplyDeleteAre you going to be posting code for arduino and the programme?
Also can any sound be assigned in the sound bank?
Any ideas to extend the project? like haveing an led array which could show the team members names after you ahve put them into the programme?
sorry for all the questions
Do you share your schematics and parts for others to build?
ReplyDeleteI would, but I didn't make any schematics. As for parts, the important ones were the Arduino and the 2 shift registers, everything else are just leds, resistors and diodes (and a pc speaker I took from a broken pc).
ReplyDelete